


Sundarban Tour Photography Tips for Beginners
A journey into the Sundarban does not feel like stepping into a fixed landscape. The forest shifts with the tide. Light reflects from water rather than land. Boats replace roads. For someone carrying a camera for the first time, this environment can feel both exciting and overwhelming. Many beginners arrive with enthusiasm but return with photographs that fail to capture what they truly saw.
Because this delta works by rhythm rather than routine, it helps to begin with a clear context from the Sundarban travel information resource before you start thinking in terms of shots and settings. The truth is simple. The Sundarban rewards patience more than speed. It demands observation more than equipment. If you understand how light behaves over tidal rivers, how wildlife moves in mangrove shadows, and how to position yourself quietly on a boat, your photographs will begin to reflect the depth of the place. These Sundarban tour photography tips for beginners are meant to help you move from random clicking to thoughtful storytelling.
Understanding the Landscape Before You Start Shooting
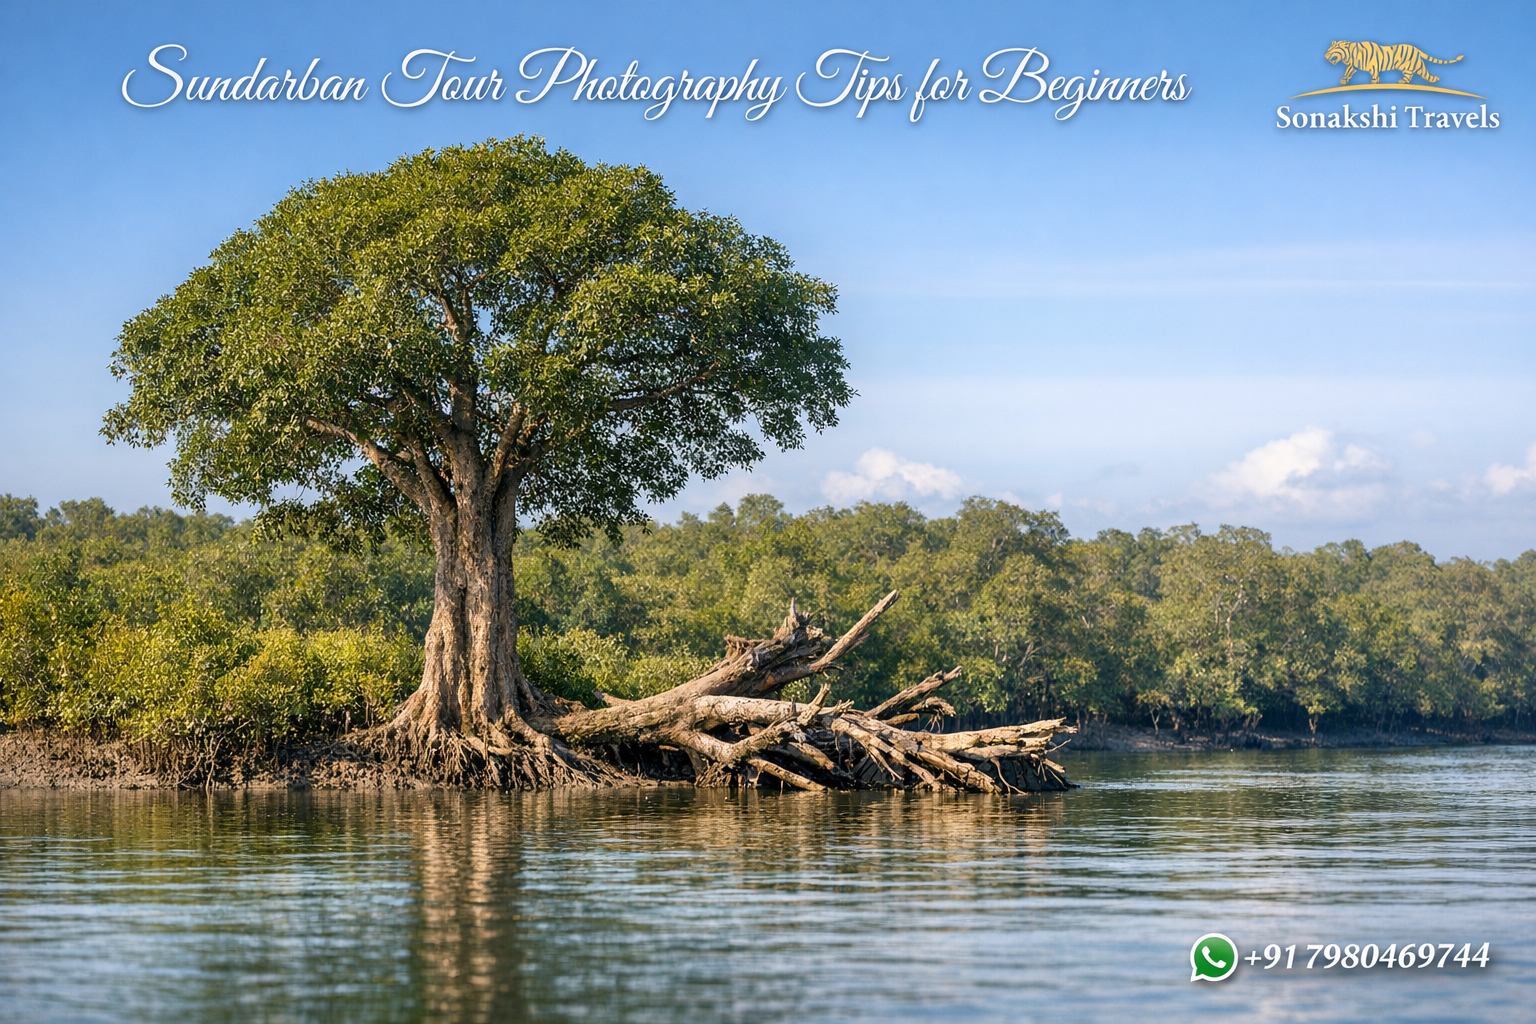
The Sundarban is a mangrove delta shaped by rivers, mudbanks, and narrow creeks. Unlike mountain or desert photography, where the land remains stable, this region constantly changes with tidal flow. Water levels rise and fall twice a day. Islands appear broader at low tide and narrower at high tide. Reflections shift every hour.
If you are new to the region, a quick review of how a regulated Sundarban tour typically unfolds can sharpen your decisions on timing, angle, and subject choice. Before lifting your camera, observe the surroundings for a few minutes. Notice where the sun is positioned. Watch how light touches the mangrove roots. Pay attention to the direction of the boat. These simple observations will help you choose better angles and avoid harsh glare from the water surface.
Many beginners make the mistake of shooting immediately without adjusting to the environment. In the Sundarban, slowing down improves results. Spend time seeing before photographing.
Choosing the Right Basic Equipment for a Sundarban Tour
You do not need expensive gear to begin. A basic DSLR or mirrorless camera with a standard zoom lens works well. Even advanced smartphones can produce impressive images if used carefully. However, certain practical tools make your experience smoother.
A zoom lens between 70–300mm is useful for wildlife sightings because animals rarely come very close. A wide-angle lens helps when capturing river landscapes or sunrise scenes from the boat deck. Carry extra batteries because charging options may be limited during long river safaris, especially when your schedule follows a multi-stop structured Sundarban tour packages with early departures and late returns.
Protection is equally important. The Sundarban air carries moisture. Keep your camera inside a dry bag when not in use. A simple microfiber cloth helps remove water spray from the lens. Beginners often overlook this small detail, but a clean lens dramatically improves image clarity.
Managing Light in Mangrove Conditions
Light behaves differently in mangrove forests. Dense foliage blocks direct sunlight. Reflections from water create brightness from below. This combination can confuse automatic camera settings and produce uneven exposure.
Early morning and late afternoon provide the most balanced light. During these hours, shadows are softer and colors appear warmer. Midday light can be harsh, especially when reflecting off tidal water. If you must shoot at noon, slightly lower your exposure to prevent overexposed highlights.
Cloudy days are not disappointing. Overcast skies often produce even lighting, which is ideal for bird photography and detailed shots of mangrove textures. Instead of chasing dramatic sunshine, focus on consistency and clarity.
Stability and Composition on a Moving Boat
Most photographs during a Sundarban tour are taken from boats. This introduces constant movement. Even gentle river flow creates vibration. Beginners sometimes blame their camera for blurred images, but the real issue is stability.
Stand with your feet slightly apart to balance your body. Hold the camera firmly with both hands. Increase shutter speed when capturing wildlife. A faster shutter reduces motion blur caused by both boat movement and animal motion.
Composition matters just as much. Avoid placing the subject directly in the center every time. Use the rule of thirds to create balance. When photographing a deer near a creek bank, include part of the surrounding mangrove to show context. The Sundarban is not just about animals; it is about habitat.
Wildlife Photography: Patience Over Speed
Wildlife photography is often the main attraction of a Sundarban tour. Spotted deer, crocodiles, birds, and sometimes elusive predators appear unexpectedly. Beginners feel excitement and start clicking rapidly. This rarely produces meaningful images.
Wait for a clear posture. Watch for eye contact. If a bird turns its head slightly toward light, that is the moment. Patience increases quality.
Keep your camera ready but avoid constant movement. Sudden gestures may disturb wildlife. Respect distance. Use zoom instead of trying to get closer physically. For beginners who want more control over timing, silence, and positioning, the pace of a private Sundarban tour experience often makes careful observation easier without crowd pressure.
Capturing Birds and Small Details in the Delta
The Sundarban is home to kingfishers, herons, egrets, and migratory species. Bird photography requires quick reaction and steady focus. Use continuous shooting mode if available. This increases your chances of capturing wing movement during flight.
Focus on the eyes whenever possible. A sharp eye transforms an ordinary bird photograph into a compelling one. If the bird remains still on a branch, adjust your framing to remove distractions in the background.
Small details also tell powerful stories. Mangrove roots emerging from mud, crab patterns on riverbanks, fishing nets drying under the sun, and the quiet geometry of creeks at low tide all reveal the character of the region. Beginners often overlook such moments while searching only for large animals.
Using Weather and Tides to Strengthen Your Images
The rhythm of tides shapes the visual identity of the Sundarban. At low tide, exposed mudbanks create dramatic textures. At high tide, reflections dominate the surface. Both conditions offer unique photographic opportunities.
If possible, ask your guide about tide timing. Sunrise during high tide often creates mirror-like reflections of mangrove trees. Sunset during low tide reveals intricate patterns in wet mud. Understanding this rhythm gives beginners a creative advantage.
Light rain can add mood. Mist over water during winter mornings creates soft, layered images. Instead of avoiding such conditions, embrace them with caution and protective gear.
Human Stories Within the Mangrove Landscape
A Sundarban tour is not limited to wildlife. Local fishermen, boat crew members, and village communities form an essential part of the delta’s identity. With permission, capturing portraits or daily activities adds emotional depth to your collection.
Look for natural expressions rather than forced poses. A fisherman repairing nets at dawn or a boat guide scanning the horizon creates a strong narrative frame. These images communicate resilience and harmony between humans and nature.
Always be respectful. Ask before photographing individuals. A simple gesture of courtesy builds trust and often results in more genuine images.
Simple Editing and Organizing After the Tour
Photography does not end when the boat returns to shore. Sorting and lightly editing your images enhances their impact. Avoid heavy filters. The Sundarban carries natural tones of green, brown, and silver-blue water. Preserve this authenticity.
Adjust brightness and contrast carefully. Crop slightly to improve framing if needed. Do not oversharpen wildlife photographs; it creates unnatural textures.
Create a small album that follows a sequence—sunrise, river passage, wildlife encounter, village life, and evening light. If you are practicing with a short schedule, a single-day Sundarban plan can still offer a complete visual story when you photograph with intention rather than haste.
A Beginner’s Reflection in Ten Lines
Water moves, but the forest stands still.
Light breaks softly on tidal skin.
A deer pauses, listening to wind.
Boats drift where maps fade thin.
Mangrove roots grip silent mud.
Bird wings slice the silver air.
A lens waits without a rush.
Patience grows from careful stare.
In quiet frames the delta speaks.
And memory lives where rivers meet.
These lines reflect what many beginners discover after their first serious attempt at photography in the Sundarban. It is not about chasing dramatic action every minute. It is about allowing the place to reveal itself gradually.
Building Confidence Through Practice
No photographer becomes confident in a single tour. Each visit teaches something new. Perhaps you learn how to adjust exposure faster. Perhaps you discover that steady breathing improves stability. Small improvements accumulate.
Review your images honestly. Notice which ones feel alive and which appear flat. Study why. Was the light stronger? Was the subject better positioned? Learning from your own work builds skill more effectively than copying others.
A Sundarban tour offers endless variation. Different seasons bring different moods. Winter offers migratory birds and misty mornings. Summer reveals sharper light and clearer horizons. Returning with fresh perspective deepens both experience and photographic ability.
Photography in this tidal wilderness is less about equipment and more about awareness. When you begin to notice small movements in water, subtle changes in sky color, and quiet signals within wildlife, your camera becomes an extension of observation rather than a mechanical device.
For beginners, the most valuable lesson is simple: respect the rhythm of the delta. Move gently. Watch carefully. Press the shutter only when the moment feels complete. Over time, your images will begin to reflect not just what the Sundarban looks like, but what it feels like.